Rendering
the Walls
29 September 2004
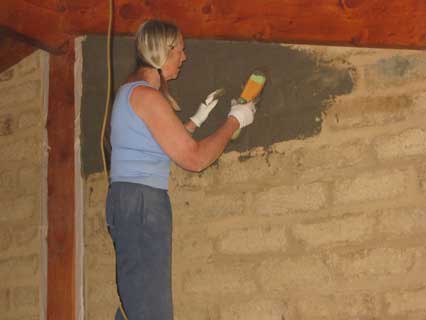
I had fallen for the line "women make very good renderers"!?
It would however have made the job a whole lot easier if I'd been given
the most vital piece of advice , which I discovered for myself only
after completing two 'wrist wrecking' walls. The colour of the render was
a bit grim,
but it dried off quite a bit lighter, and I became quite fond of the colour!
I found that it was essential to keep my brush clean by rinsing it in a bucket
of water
after every few brushfulls of render. Also I found it worked much better if
the
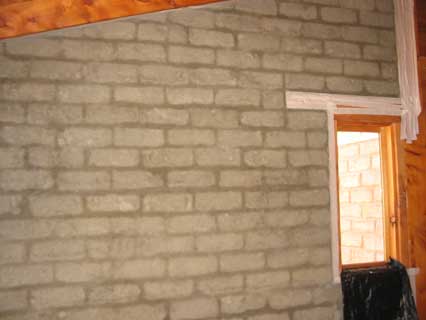
render was a bit on the sloppy side. I do realise that 'the proof of the pudding
is in the eating',
so perhaps you should check back in a few months time to see if the render
is all
sitting in a crumbly heap all over the floor!
9 November 2004
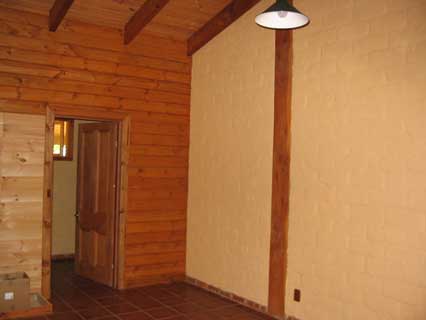
After leaving the render to dry for two weeks, I couldn't resist getting stuck
into the colour coat.
We used Grimes Bros Mudstone colour on all the walls. Although the first coat
gave quite a good cover
I put on a second, slightly thinner coat the next day.
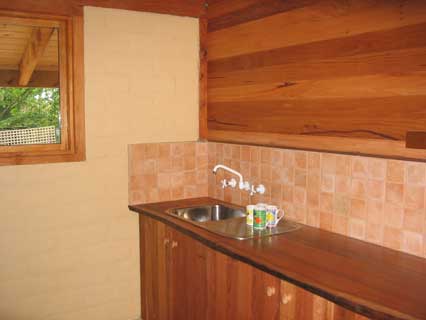
We had masked off the timber walls, tiles, benchtop, cupboards and window
frames
to avoid getting the colour all over the place.
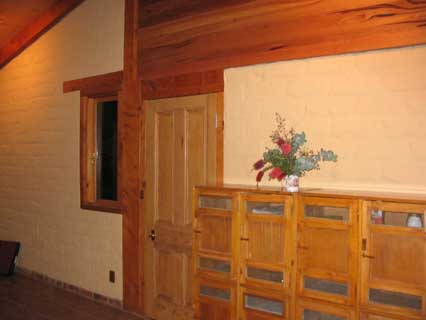
We had an evening barbecue for Jonni's birthday and this was the first time
we had been in the house with the lights on.